How to Stop Using Microsoft Account to Login to Atlassian
If you are logging into Atlassian with your Microsoft/Google account and want to set a password you need to unlink it. To do so you need to change your email...

The site here is built using Pelican which is a static website generator. It allowed you to write webpages in markdown, then build them along with a config file and theme to HTML files. These files are then stored in an S3 bucket without having to run any webserver. To be able to serve the site via https the site has a certificate created via Amazon Certificate manager and hosted out of CloudFront. To top things off the site is routed over the Cloudflare CDN. I got a good start on this process from a post on Aaron Asaro’s blog about Serving a static site from S3 using Cloudflare Full SSL. I had to make some tweaks to get SSL full up and working.
You need a command line system to run the commands below. I will be using my Ubuntu system
python to run it you would need to use python3. To save yourself this you can create an alais in your .zshrc file.sudo apt install python pipsudo apt install python3.8-venvmkdir -p ~/projects/SITE_NAME the -p will create the directories in the pathcd ~/projects/SITE_NAMEpython3.8 -m venv venv will run the python module venv and create a new environment called venv. You can give it a unique name but it is common to just use the same name. This also allows for command aliasses to be created (below)source ./venv/bin/activate this will activate the virtual environment and any modules you install here will be limited to this project.alias pynv="python3.8 -m venv venv" #New virtual environmentalias pyav="source ./venv/bin/activate" # activate virtual environmentalias pydv="deactivate" # deactivate virtual environmentpython -m pip install pelican markdownpelican-quickstart commands and walk thru the wizard to fill in some information about your site.
pelican --listen command. This will show a version of the site that you can access locally at http://127.0.0.1:8000.
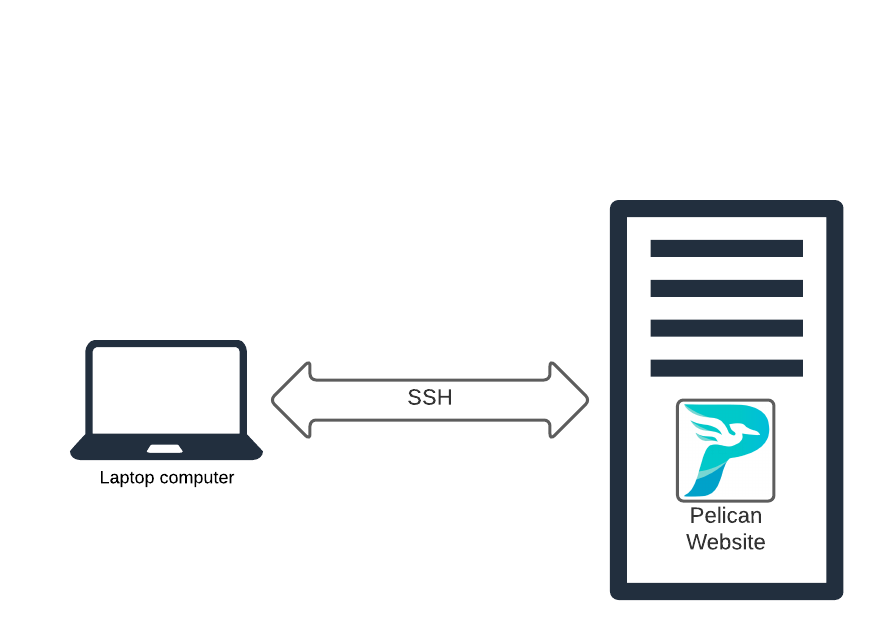
ssh -L 8080:127.0.0.1:8000 User@Remote_Host -i User_Key_at_Remote_host. This command breaks down as take any trafic on port 8080 for 127.0.0.1 (aka localhost) and send it to port 8000 on the remote machine.8080, and checked the SOCKS proxy box.pelican --listen -r --ignore-cache. If you are working on a custom theme you can append ````-t path/to/theme``` on the commandpelicanconf.py files contains some values which were set during the pelican-quickstart process. However, I make some additional changes to further configrue the site
LINKS blog roll. This will hide this item from the footerSOCIAL item with links to social providlesDISPLAY_CATEGORIES_ON_MENU = False this will prevent the site from adding all categories to the menu barDISPLAY_PAGES_ON_MENU = True to add all items created under content/pages/ to the menu barINDEX_SAVE_AS = 'blog_index.html' this moves the default list of items from content/ from the front page of the site to a differnt location at blog_index.html.MENUITEMS = (('Posts', 'blog_index.html'),) to add the blog index to the menu bar. You can add additional arbitraty menu items with additional tupples in the MENUITEMS setting option43 ARTICLE_URL = 'posts/{date.year}/{date.month}/{date.day}/{slug}.html' and ARTICLE_SAVE_AS = 'posts/{date.year}/{date.month}/{date.day}/{slug}.html'content/pages/index.md. To ensure it shows as the front page set the following metadata at the top of the page. URL:, save_as: index.html, status: hiddenAt this point you will have the skelton of a site, which as you add content will be written to HTML files in the output directory when you run the pelican command. These files can be uploaded to your object store of choice to act as your website. This site is hosted in Amazon S3. The next post in the series covers setting up GitHub Actions for continuous Deployment/ Continuous Intergration (CI/CD).
If you are logging into Atlassian with your Microsoft/Google account and want to set a password you need to unlink it. To do so you need to change your email...
My appearance on Episode 26 of the Modern Cyber podcast with Jeremy Snyder of FireTail.io was recorded at the fwd:cloudsec US 2024 conference
Original post on Zatik Blog
Original post on Zatik’s blog
Your iPhone can be a blackhole of attention. One way to reduce the amount of screentime you spend on it is to make the screen less appealing to look at. You ...
Jupyter Lab notebooks are a great tool for doing data analysis that is either to big for Excel, or you need to repeat the output. Google Colab is a hosted v...
The first post in this series covered creating a site with Pelican the second covered S3 hosting and Github Actions. The series will conclude with configurat...
With the static site already created you could manually copy these files to S3 via the AWS console, or via the S3 CLI. However, this adds friction to the wri...
The site here is built using Pelican which is a static website generator. It allowed you to write webpages in markdown, then build them along with a config f...
I wanted to get started with writing more online in 2022. I decided to setup a static site hosted out of S3 which I will cover in a future post. However, bef...